There are several steps that are required to install the wordPress successfully on the localhost. so just simply follow these steps :
1. This step requires you to download the wordPress software.
Visit: http://wordpress.org/download/ to download your copy of WordPress.
2. After downloading the software , simply extract in the root directory of the server. ( www directory in case of wamp and htdocs in case of xampp/lampp). Place the contents in a folder named as WordPress.
3. Now start the local server and in the browser screen point to the following URL : http://localhost/wordpress/
4. You will be faced with an error message regarding the configuration file.
To rectify this error there are two ways.
Either you go manually and rename the wp-config-sample.php file to wp-config.php and then manually enter your database details
Else you can go by the graphical user mode. This mode is a preferred one
5. We will proceed via the GUI Mode. First of all we will create a database using the PHPMyAdmin so that all the sample data of the WordPress is installed in it.
Open the PHPMyAdmin using the URL http://localhost/phpmyadmin
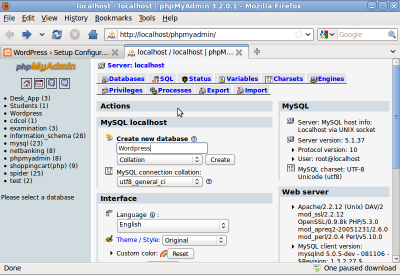
Then click the Let’s Go button on the Web GUI to initiate the installation of the WordPress on the localhost.
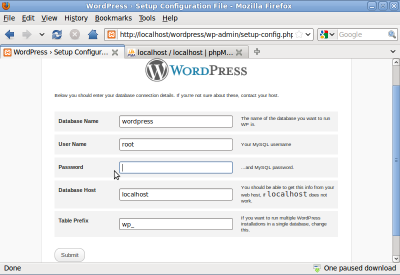
Now understand what have to be filled here in the text fields.
Database Name: It is the name of database where the sample data of the WordPress will be installed. Since we already made a database using PHPMyAdmin named as WordPress , type in this name
User Name: This specifies the user who will use the database. Since the installation is done on local machine we will designate our user as root.
Password: This will authenticate the user to access the database. This is left as blank in this case.
Database Host: It is the host computer on which the database resides. Since for local installations the host designated is localhost.
Table Prefix: It is used when we want to run multiple installation on the same database. Leave it as default which is provided in the text field.
6. Finally click on the Submit button. And if everything goes right you will be faced with the following screen:
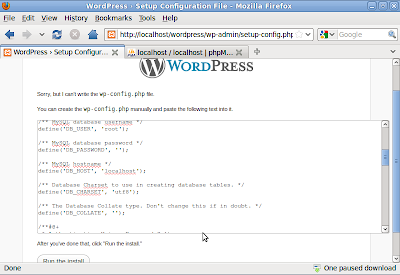
The above window shows that wp-config.php has not been written. To rectify this error just go to your web directory and copy paste the matter written in text box into a new file named as wp-config.php. After that just hit Run The Install button.
7. If everything goes according to the plan, you will be faced with famous five minute WordPress installation process. Just enter the personal details and password.
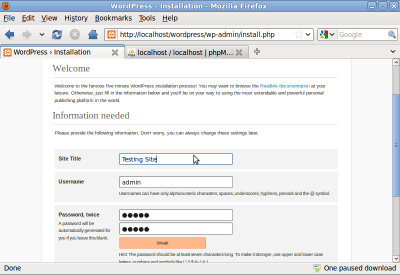
Finally click Install WordPress.
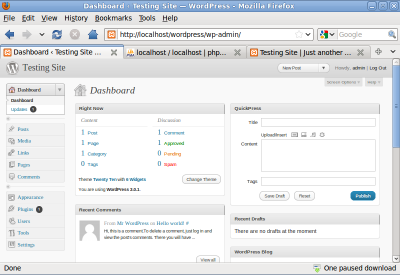
8. Now login to your website’s admin panel at http://localhost/wordpress/wp-admin to customize its looks and settings.
9. To have a first look of your new setup wordpress site simply enter this URL: http://localhost/wordpress/
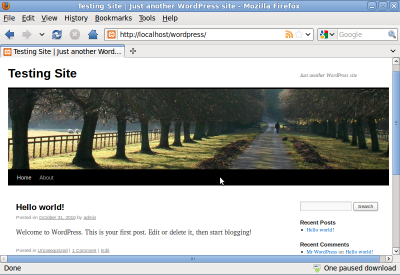 Congratulations! you have successfully installed the WordPress on the local computer
0 comments:
Post a Comment